
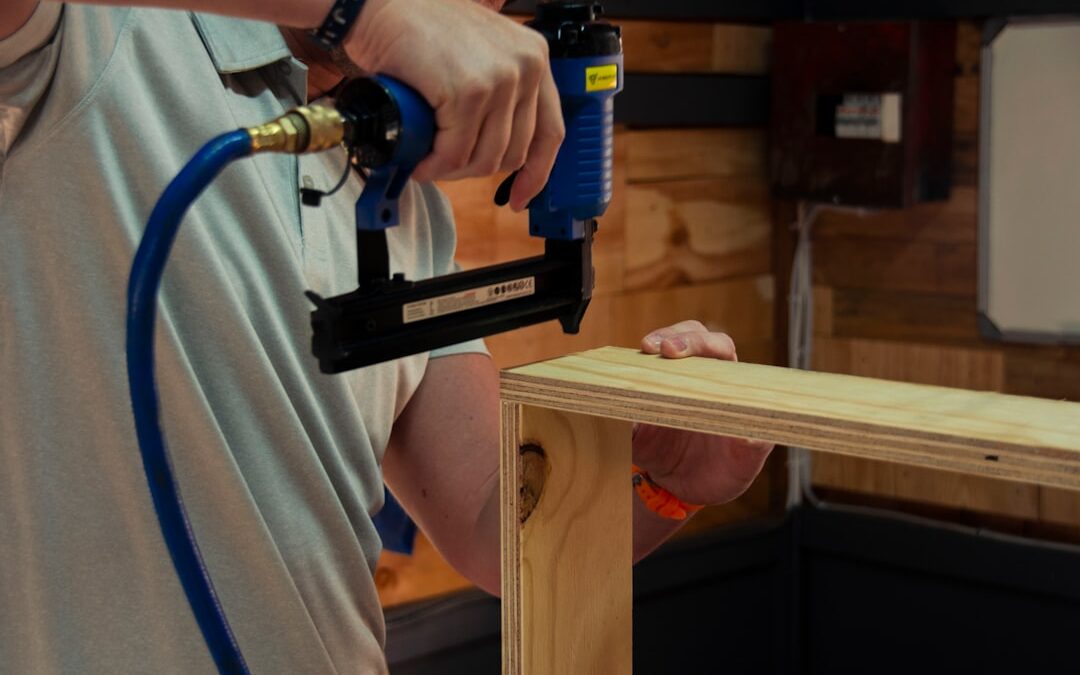
Why Attaching Wood to Drywall the Right Way Actually Matters
Learning how to attach wood to drywall correctly is one of those skills that saves you from a frustrating — and sometimes costly — redo job down the road.
Quick answer: How to attach wood to drywall
- Locate wall studs using a stud finder and mark their positions.
- Use construction adhesive (hybrid polymer or polyurethane) applied in a wavy pattern to the back of the wood.
- Drive mechanical fasteners (finish nails or screws) through the wood into studs for long-term hold.
- Without studs, use drywall anchors or toggle bolts for modest loads, or adhesive with temporary supports for lightweight trim.
- Prepare painted surfaces by scoring the paint with a utility knife so adhesive bonds to the drywall, not just the paint layer.
Whether you're adding baseboards, installing a wood accent wall, or attaching paneling, the method you choose matters. Use the wrong adhesive on a freshly painted wall and you might get 90% of the pieces holding just fine — and 10% quietly peeling off the wall weeks later, taking chunks of paint with them. That's not a glue failure. That's a surface prep failure.
Drywall is strong enough for plenty of applications, but it's not designed to hold heavy loads on its own. The paper face of drywall is often the weakest link — not the adhesive, not the wood. Knowing that changes how you approach the whole job.
I'm Dmytro Tkach, owner of DT Renovation LLC, and over the years I've handled dozens of interior renovation projects across Raleigh, Cary, Apex, and the surrounding Triangle area where attaching wood to drywall — from trim and baseboards to full accent walls — is a regular part of the work. In this guide, I'll walk you through exactly what works, what doesn't, and how to get it right the first time.
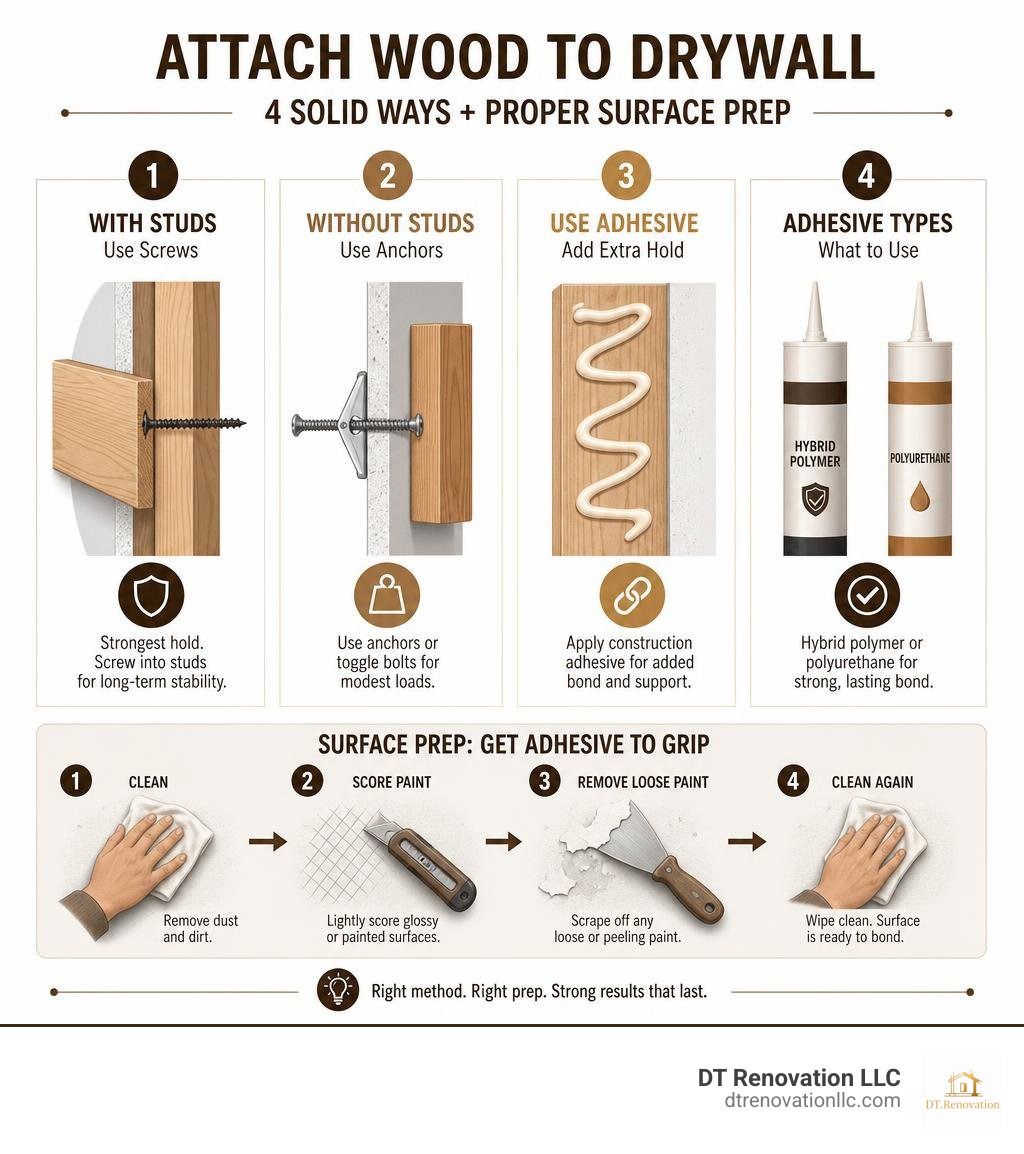
Best Practices to Attach Wood to Drywall
When you plan to attach wood to drywall, your primary goal is long-term stability. Drywall is essentially a core of gypsum sandwiched between heavy sheets of paper. It handles compression beautifully, but it has very poor shear and pull-out strength on its own.
To prevent your wood projects from sagging or pulling away, you must establish a reliable connection to the underlying structure. This means mapping out your wall studs before you cut a single piece of lumber.
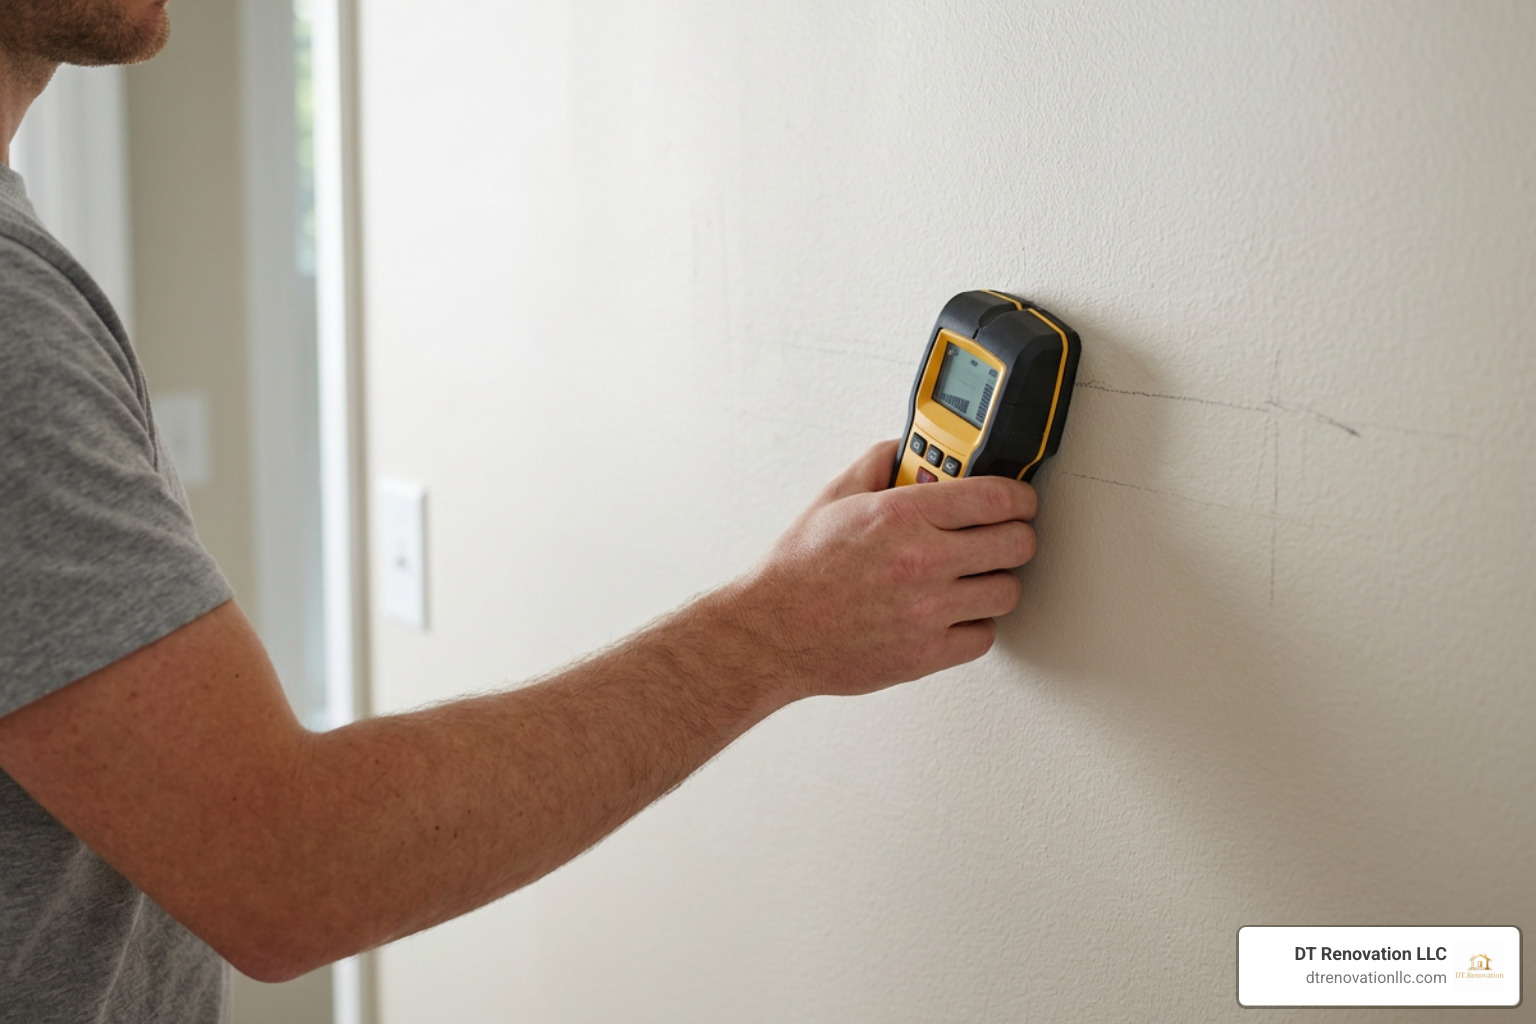
In most modern homes across Raleigh and Cary, studs are spaced either 16 inches or 24 inches apart on center. Using a reliable electronic stud finder to locate and mark both edges of the stud is the safest starting point.
Relying entirely on drywall to support heavy wood elements without finding these structural framing members is a recipe for sagging walls and cracked plaster. If your project requires reinforcing or modifying the wall structure itself before hanging heavy elements, you might need a professional framing renovation to ensure the wall is structurally sound.
How to Attach Wood to Drywall Without Studs
We would all love it if every single piece of wood lined up perfectly with a wall stud, but real-world layouts rarely work out that way. When you must attach wood to drywall where there is no stud behind it, you have to rely on specialized drywall anchors.
For lightweight projects like picture ledges, small decorative trim, or thin wood slats, plastic expansion anchors or self-drilling threaded anchors work well. However, if you are hanging anything that will bear weight, toggle bolts or strap toggles are the industry standard.
Toggle bolts feature metal wings that fold flat to pass through a drilled hole in the drywall, then spring open on the back side. This spreads the load across a much wider surface area of the drywall paper rather than concentrating it on a single point.
When planning decorative feature walls or light wood slat installations, check out this guide on How to Attach Wood to Drywall in 10 Effective Ways to see how different anchoring systems perform under light to moderate stress.
Mechanical Fasteners vs. Adhesives: Making the Right Choice
Choosing whether to use nails, screws, adhesives, or a combination of both depends entirely on what you are installing.
- Screws: These provide the highest pull-out resistance. Always choose screws over nails when you are securing heavy wood items, working on ceilings, or mounting load-bearing shelves. For securing wood to wood studs through drywall, coarse-thread drywall screws are ideal because their deep threads bite firmly into the soft wood framing.
- Nails: Finish nails and brad nails are perfect for trim, baseboards, and lightweight wood paneling. They leave tiny holes that are easy to fill, but they have very low pull-out resistance.
- Adhesives: Construction adhesives provide incredible shear strength (preventing the wood from sliding down the wall) but can pull the drywall paper right off the gypsum core if subjected to direct pulling force.
For the absolute best results, a belt-and-suspenders approach is usually best: use a high-quality construction adhesive to prevent sliding and warping, combined with strategic mechanical fasteners driven into studs to lock the wood in place while the adhesive cures.
If you are looking for technical specifications on fastening systems and how drywall panels behave under load, the Georgia-Pacific Wallworks Guide offers excellent professional insights on fastener depths and spacing.
As a quick rule of thumb for fastener lengths:
- For 1/2-inch drywall panels, use 1-1/4 or 1-3/8-inch screws to ensure proper penetration into the stud.
- For 5/8-inch drywall panels (commonly found in garages or fire-rated walls), use 1-3/8 or 1-5/8-inch screws.
Choosing the Right Construction Adhesives for Wood-to-Drywall Applications
Using the right adhesive can make or break your installation. The table below outlines how the most common adhesive types compare when bonding wood directly to drywall.
| Adhesive Type | Bonding Strength | Flexibility | Moisture Resistance | Best Use Case |
|---|---|---|---|---|
| Hybrid Polymer | Excellent | High | Excellent | Shelving, heavy trim, accent walls |
| Polyurethane | Excellent | Medium | High | Structural wood, exterior-facing walls |
| Silicone | Low | Very High | Excellent | Lightweight trim in bathrooms/kitchens |
| Epoxy | Maximum | Very Low | High | Heavy structural repairs (rarely used for drywall) |
| PVA (Wood Glue) | High (wood-to-wood only) | Low | Low | Not recommended for drywall |
| Acrylic | Medium | Low | Medium | Standard interior crown moulding |
| Hot Melt | Low | Low | Low | Temporary tacking while other glue dries |
Comparing Adhesive Types: Polyurethane, Epoxy, and Hybrid Polymers
In our renovation work around Wake Forest and Chapel Hill, we find that hybrid polymer adhesives (like Bostik Xtreme Flex) are generally the best all-around choice for attaching wood to drywall. They combine the raw strength of a polyurethane with the flexibility and moisture resistance of a silicone. They grip quickly, don't shrink as they cure, and remain flexible enough to handle the natural expansion and contraction of wood.
Polyurethane adhesives (such as Loctite PL Premium) are incredibly strong and expand slightly as they cure. This expansion is great for filling minor gaps between warped wood and uneven drywall, but you must clamp or nail the wood firmly to prevent the expanding glue from pushing the wood away from the wall.
Epoxies form an incredibly rigid, chemical bond. However, because they do not flex, they are rarely used for standard wood-to-drywall applications. If the wood swells with seasonal humidity, a rigid epoxy bond is likely to shear the face paper right off the drywall.
Silicone adhesives are highly flexible and waterproof, making them ideal for sealing and securing lightweight trim in humid bathrooms. However, because they lack structural strength, they should never be used to support heavy loads.
Environmental and Safety Considerations: VOCs and Ventilation
Many heavy-duty solvent-based construction adhesives release high levels of Volatile Organic Compounds (VOCs) as they cure. These chemicals can cause strong odors, headaches, and respiratory irritation, especially in closed spaces.
When working inside your home, look for low-VOC, water-based, or certified green adhesives. If you must use solvent-based polyurethanes, make sure to set up box fans, open windows, and ensure cross-ventilation.
Step-by-Step Surface Preparation for Painted Drywall
If you are gluing wood directly to a painted wall, your bond is only as strong as the paint's connection to the drywall. If the paint was originally applied over a layer of fine drywall dust, the paint will easily peel away under load, causing your wood trim or accent wall to fail.
Before applying any adhesive, wipe down the walls with a damp sponge to remove dust, cobwebs, and grease. If your drywall is older, damaged, or showing signs of water wear, you may want to evaluate whether you need a quick repair or a fresh start. You can read more about how to make that call in our guide on drywall repair vs replacement.
Preventing Paint Peeling and Ensuring Strong Adhesion
To ensure a permanent, chemical-mechanical bond, you should never glue directly to glossy, washable, or enamel paints without preparation.
The most reliable trick of the trade is to score the paint layer. Take a sharp utility knife and lightly score a cross-hatch pattern into the paint where the wood will sit. You don't need to cut deep into the gypsum core — just break through the paint layer to expose the raw drywall paper underneath.
When the adhesive is applied over these scored lines, it penetrates the drywall paper directly, creating a mechanical lock that cannot be pulled free by paint peeling.
Installing Wood Paneling, Trim, and Accent Walls
Wood accent walls and modern vertical slat walls are fantastic ways to bring warmth and character into a home. However, installing them directly over drywall requires a careful mix of planning and the right techniques.

If you are planning a custom wood slat wall, take a look at this detailed technical breakdown on How to Properly Attach Wood Slats to Drywall to ensure your spacing and alignment remain perfect.
Best Practices for Baseboards and Trim
When we install baseboards or crown moulding, we always look for the studs first. However, trim pieces often run long distances where they need extra support between studs.
For a rattle-free installation, apply a thin, continuous bead of silicone adhesive caulk or hybrid polymer along the back of the trim, then secure it at a 45-degree angle using 18-gauge finish nails. The angled nails act as temporary clamps, holding the trim tight against the drywall while the adhesive cures to form a permanent, silent bond.
Installing Engineered Wood Accent Walls
Using engineered hardwood flooring to create a vertical accent wall is an incredibly popular design trend. However, because these products are designed to float or lock together, you must follow specific guidelines when mounting them vertically.
For safety and structural integrity, locking engineered wood installations on walls are limited to a maximum of 40 feet in length and 10 feet in height.
Before installation, you must acclimate the wood to your home's climate for at least 48 hours. Keep your home within a normal relative humidity range of 35% to 55% and a temperature of 60°F to 80°F. For a step-by-step breakdown of vertical flooring installations, you can refer to the official Locking Engineered Hardwood Flooring on Wall instructions.
Managing Wood Expansion, Contraction, and Seams
Wood is a living material that constantly responds to changes in temperature and humidity. During humid North Carolina summers, wood absorbs moisture and expands; in the dry winter months, it shrinks.
If you attach wood to drywall without leaving room for this movement, the wood will eventually buckle, warp, or crack your drywall joints. Always leave a 3/16-inch expansion gap around the perimeter of any wood accent wall where it meets adjoining walls, ceilings, or floors. This gap can easily be hidden with a neat run of baseboard or quarter-round moulding.
Managing moisture is especially critical during a kitchen renovation or a bathroom renovation, where steam and water exposure are daily occurrences. In these spaces, always use highly flexible hybrid polymer or silicone adhesives that can stretch and compress without breaking their bond.
Common Mistakes When You Attach Wood to Drywall
- Skipping Stud Mapping: Relying on drywall anchors for heavy wood panels or shelving will eventually lead to wall damage.
- Overtightening Screws: Driving screws too deep crushes the gypsum core of the drywall, completely destroying its holding power.
- Ignoring Surface Prep: Gluing wood directly to dusty, dirty, or glossy painted walls without sanding or scoring will result in adhesive failure.
- Failing to Acclimate Wood: Installing wood straight from a cold garage or lumberyard into a warm house will cause dramatic shrinking or warping within a few weeks.
Frequently Asked Questions
What is the strongest anchor for attaching wood to drywall without studs?
The strongest option is a metal toggle bolt or a strap toggle (like a Snaptoggle). These anchors feature a metal channel that flips open behind the drywall, distributing the weight across a large area. They offer significantly higher pull-out strength than plastic expansion or self-drilling anchors.
Can I use liquid nails to attach wood trim directly to painted drywall?
Yes, but with caution. Standard construction adhesives will bond to the paint, not the drywall. If the paint peels, the trim will fall off. For a secure bond, sand the paint to scuff the surface, or use a utility knife to score cross-hatch lines through the paint to expose the raw drywall paper before applying the adhesive.
How do I prevent wood accent walls from warping or buckling over time?
First, let the wood acclimate inside the room where it will be installed for at least 48 hours. Second, always leave a 3/16-inch expansion gap around the edges of the wall. Finally, use a flexible hybrid polymer adhesive combined with finish nails driven directly into the wall studs.
Conclusion
Successfully attaching wood to drywall comes down to understanding your materials. By taking the time to map out your studs, choosing the right adhesive for your room's environment, and preparing your painted walls properly, you can build beautiful, long-lasting wood installations that won't sag, rattle, or damage your home.
If you are planning a home improvement project in Raleigh, Cary, Apex, Holly Springs, Wake Forest, Durham, or Chapel Hill and want the peace of mind that comes with professional craftsmanship, we are here to help. From custom carpentry and accent walls to professional drywall installation, DT Renovation LLC delivers beautiful, functional spaces built to last. Reach out to us today to discuss your next project!